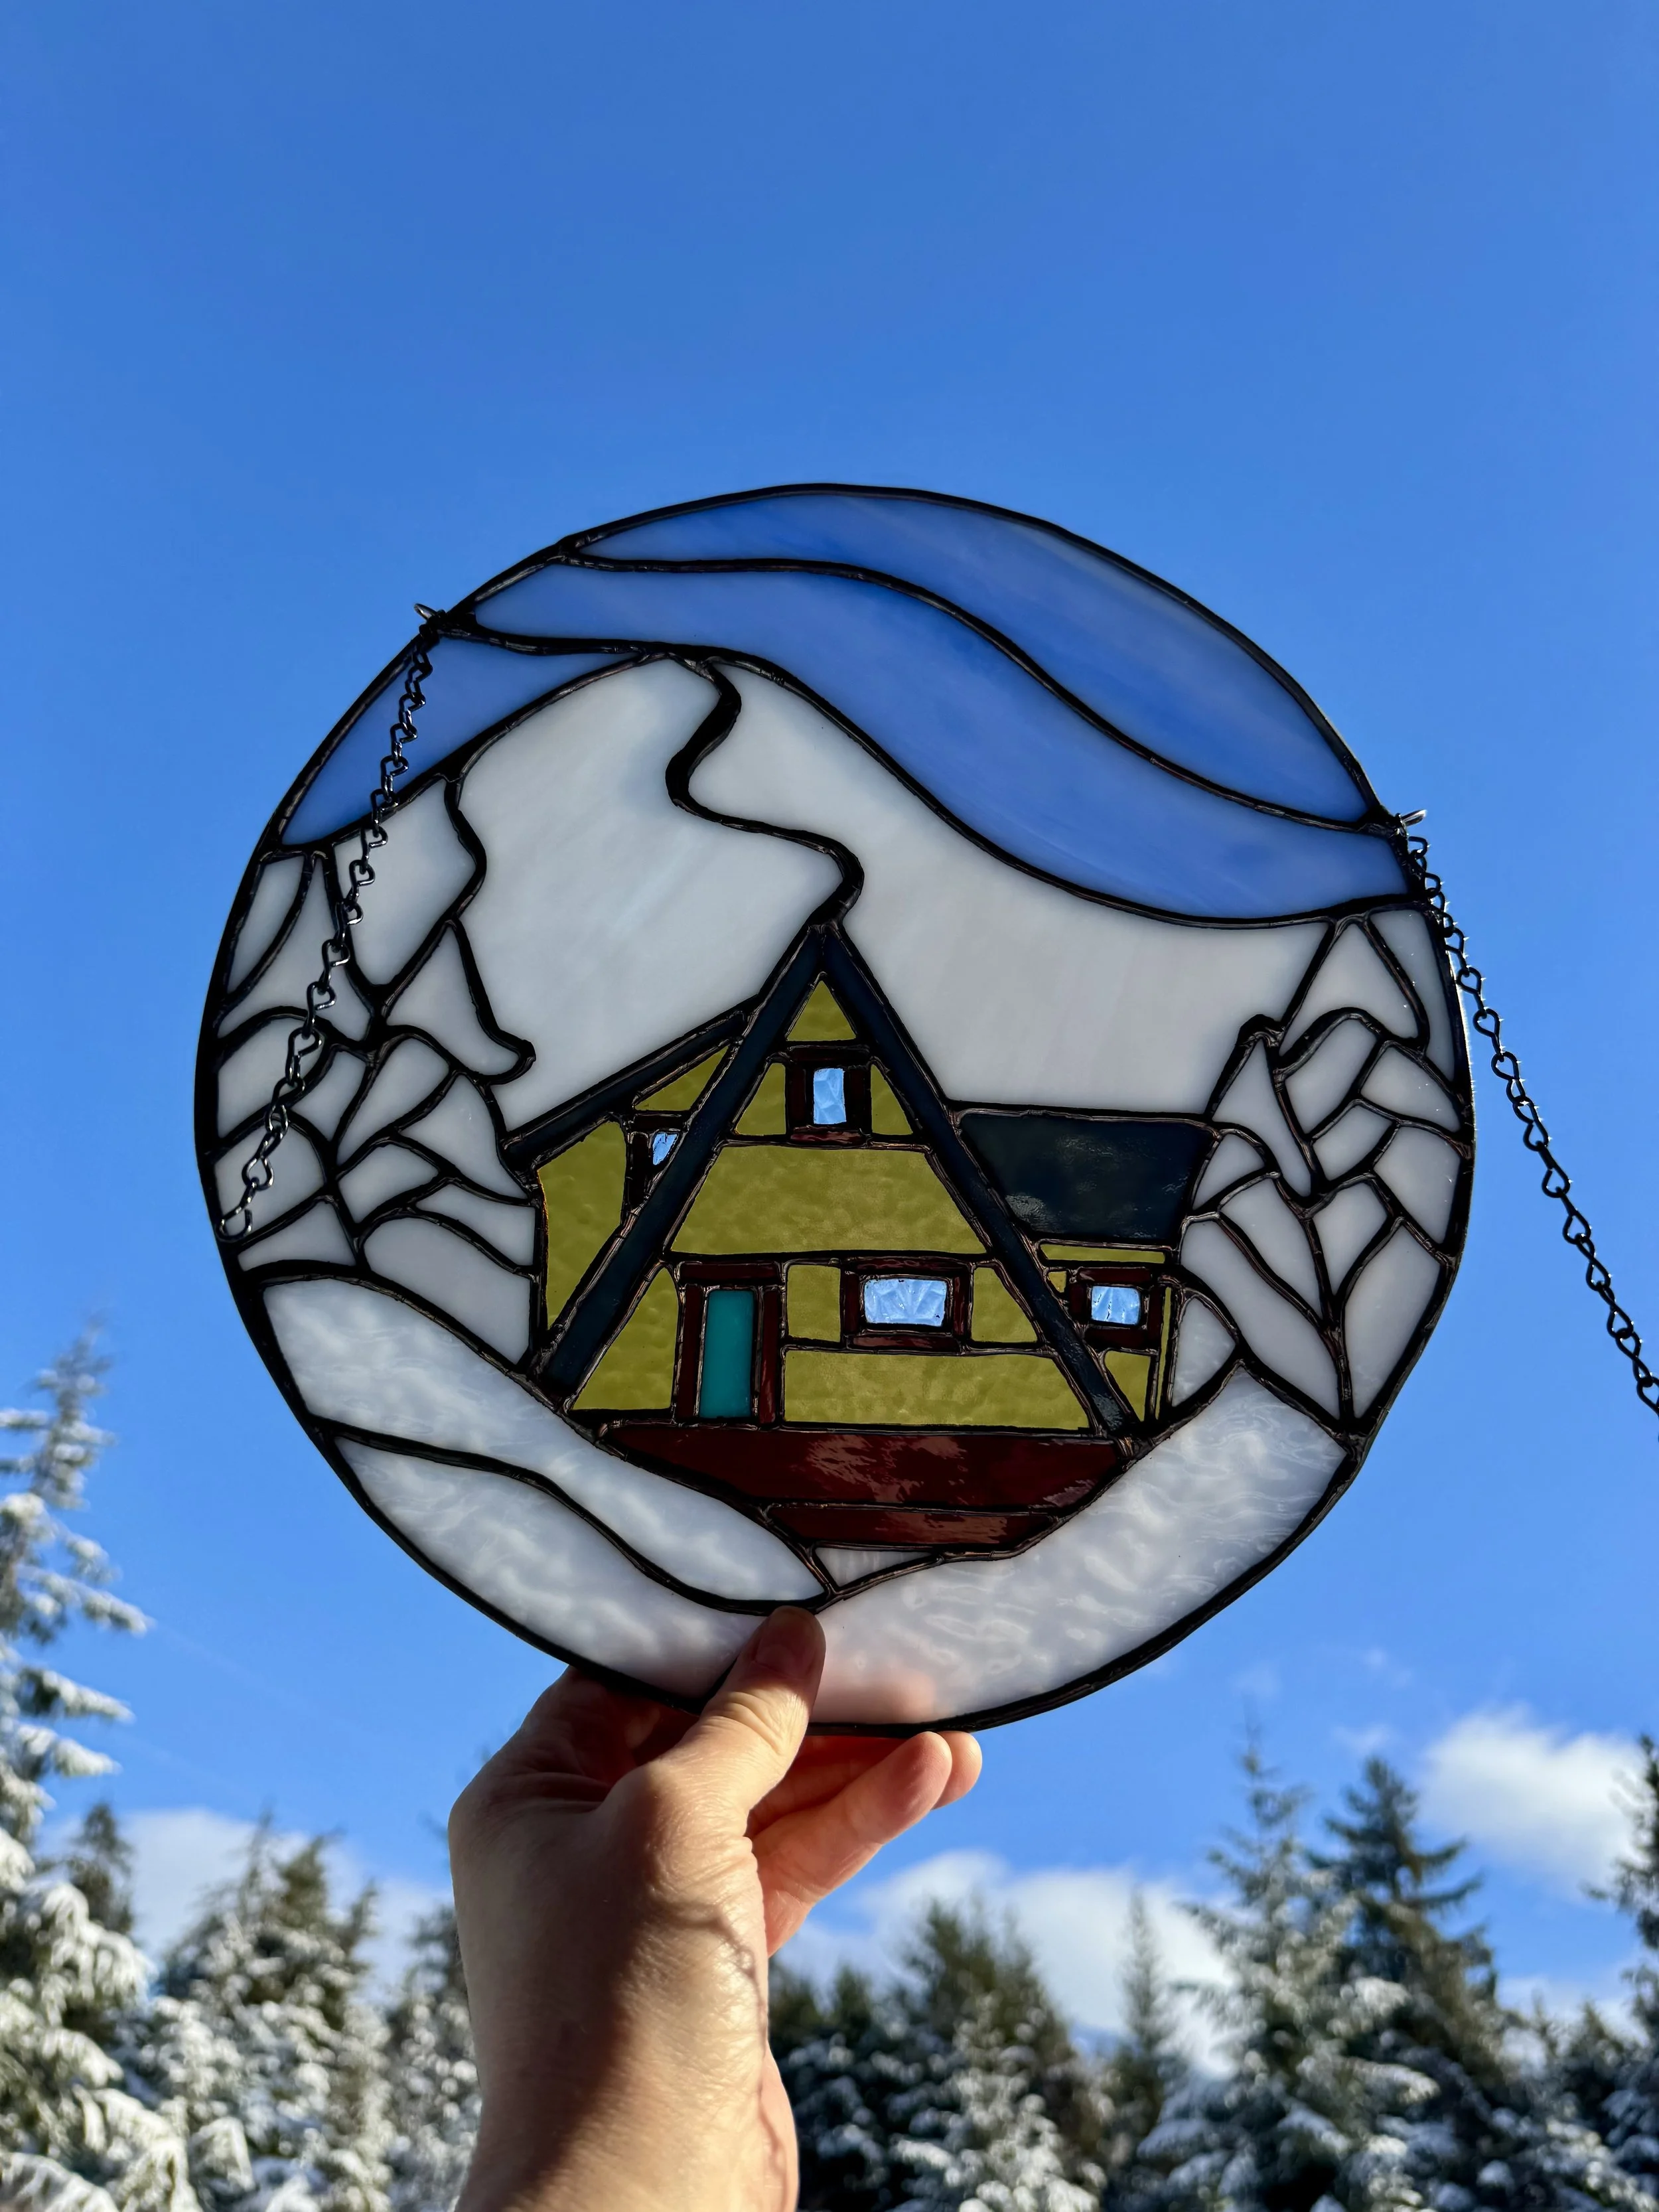
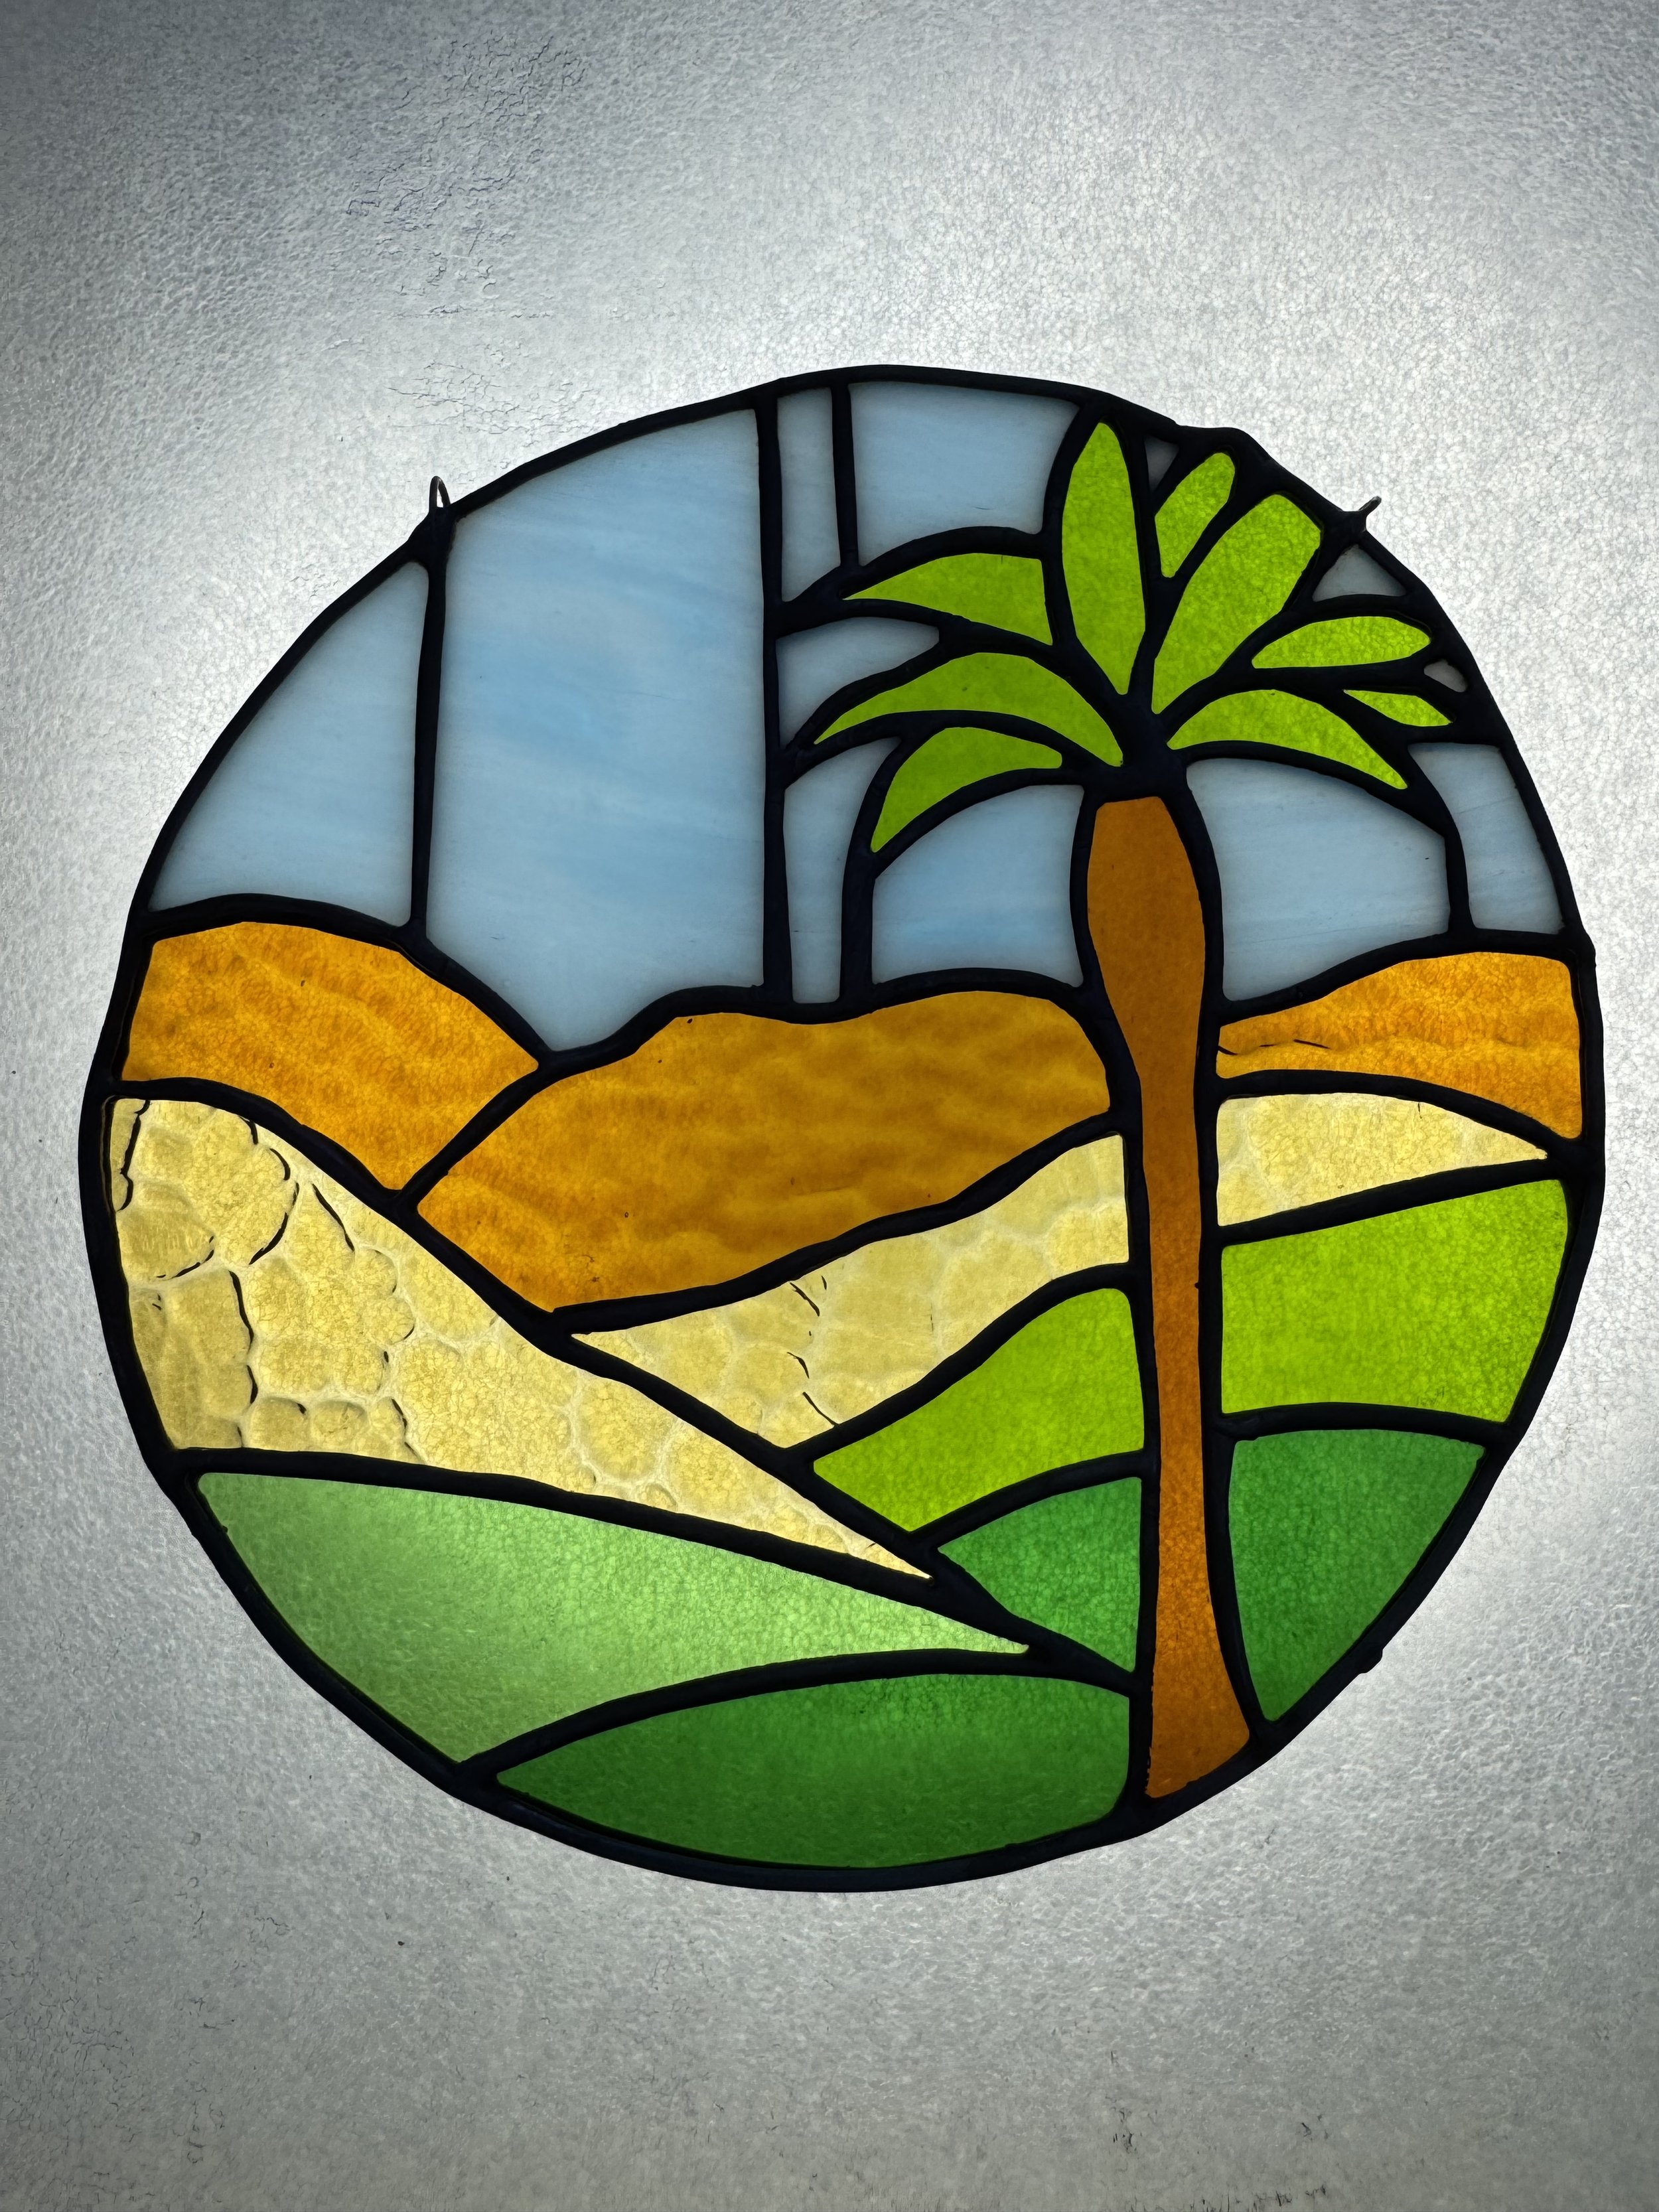
The process of Stained Glass
From start to finish, every stained glass piece is unique.
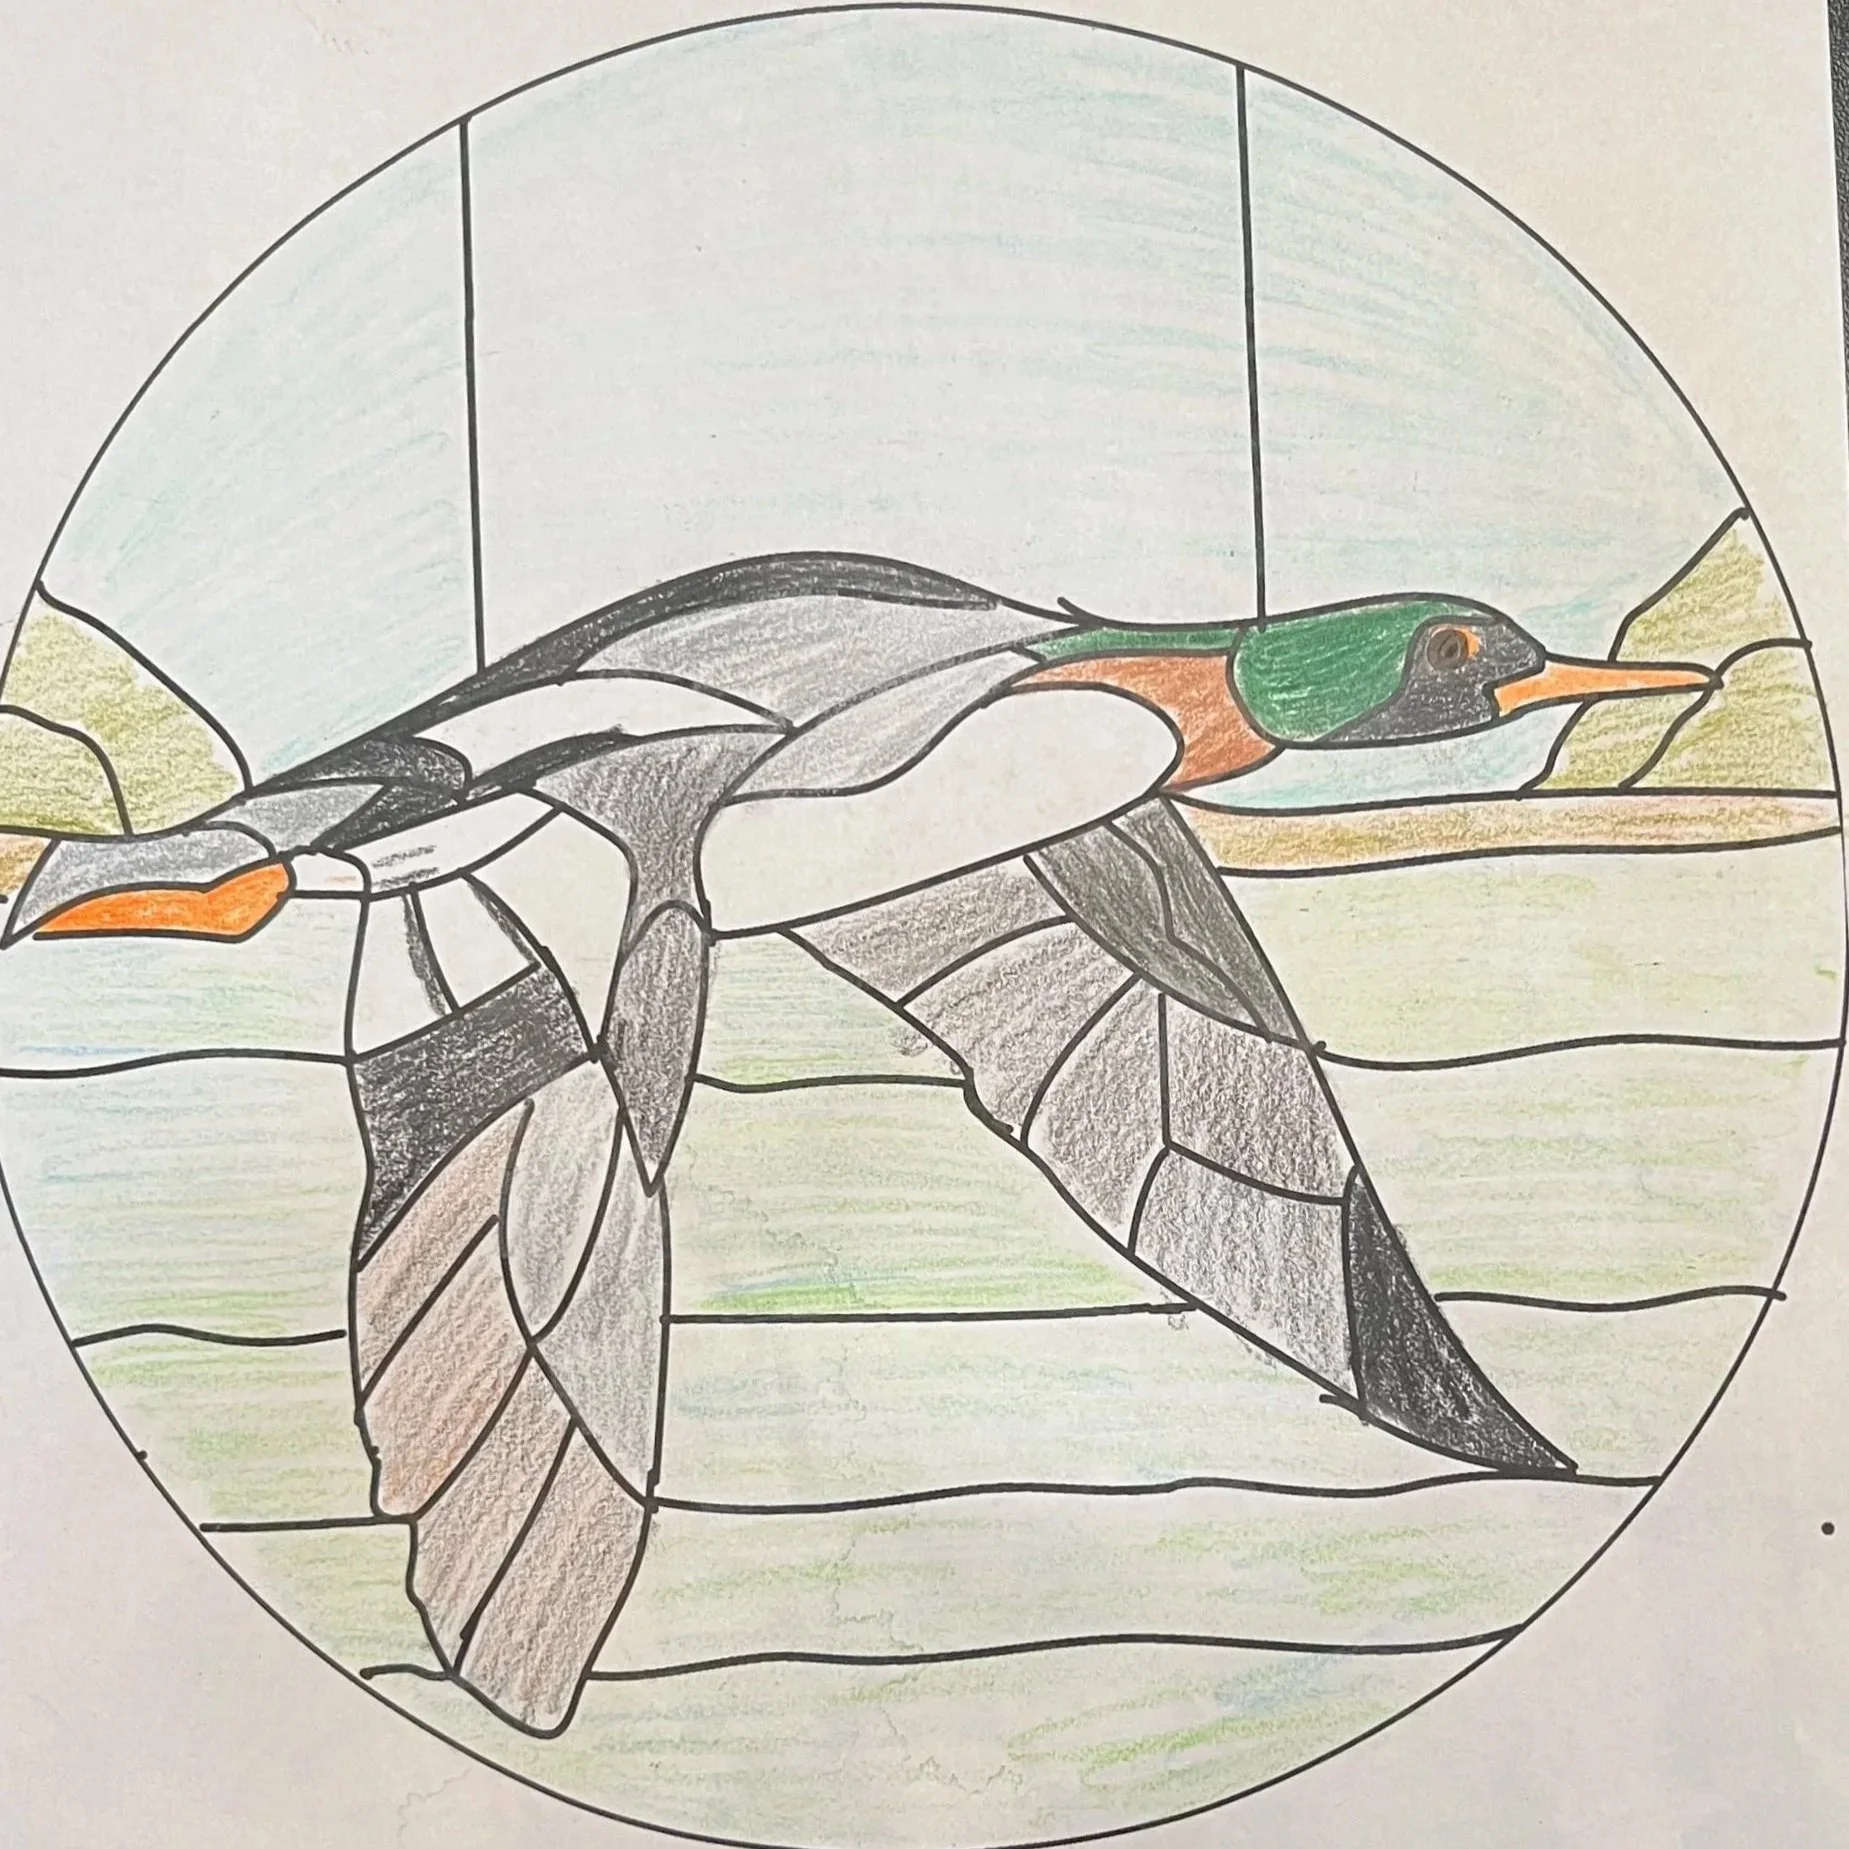
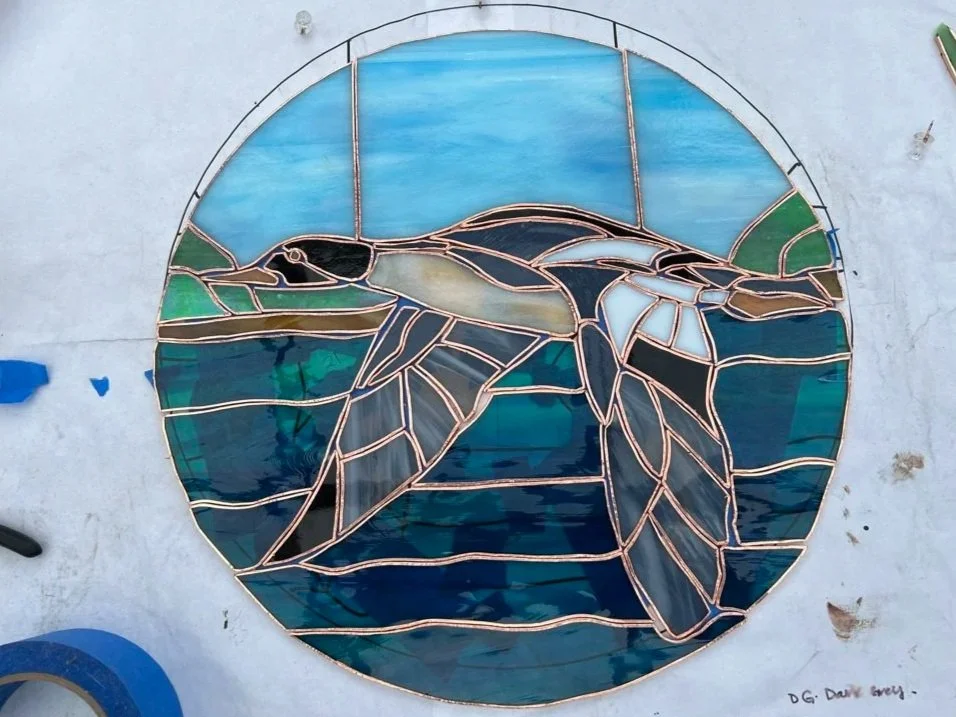
Pattern Selection
The process begins by creating a pattern. Typically, I use photos to sketch a basic design and make modifications from there. I then play with colors to help visualize how the piece will come together.
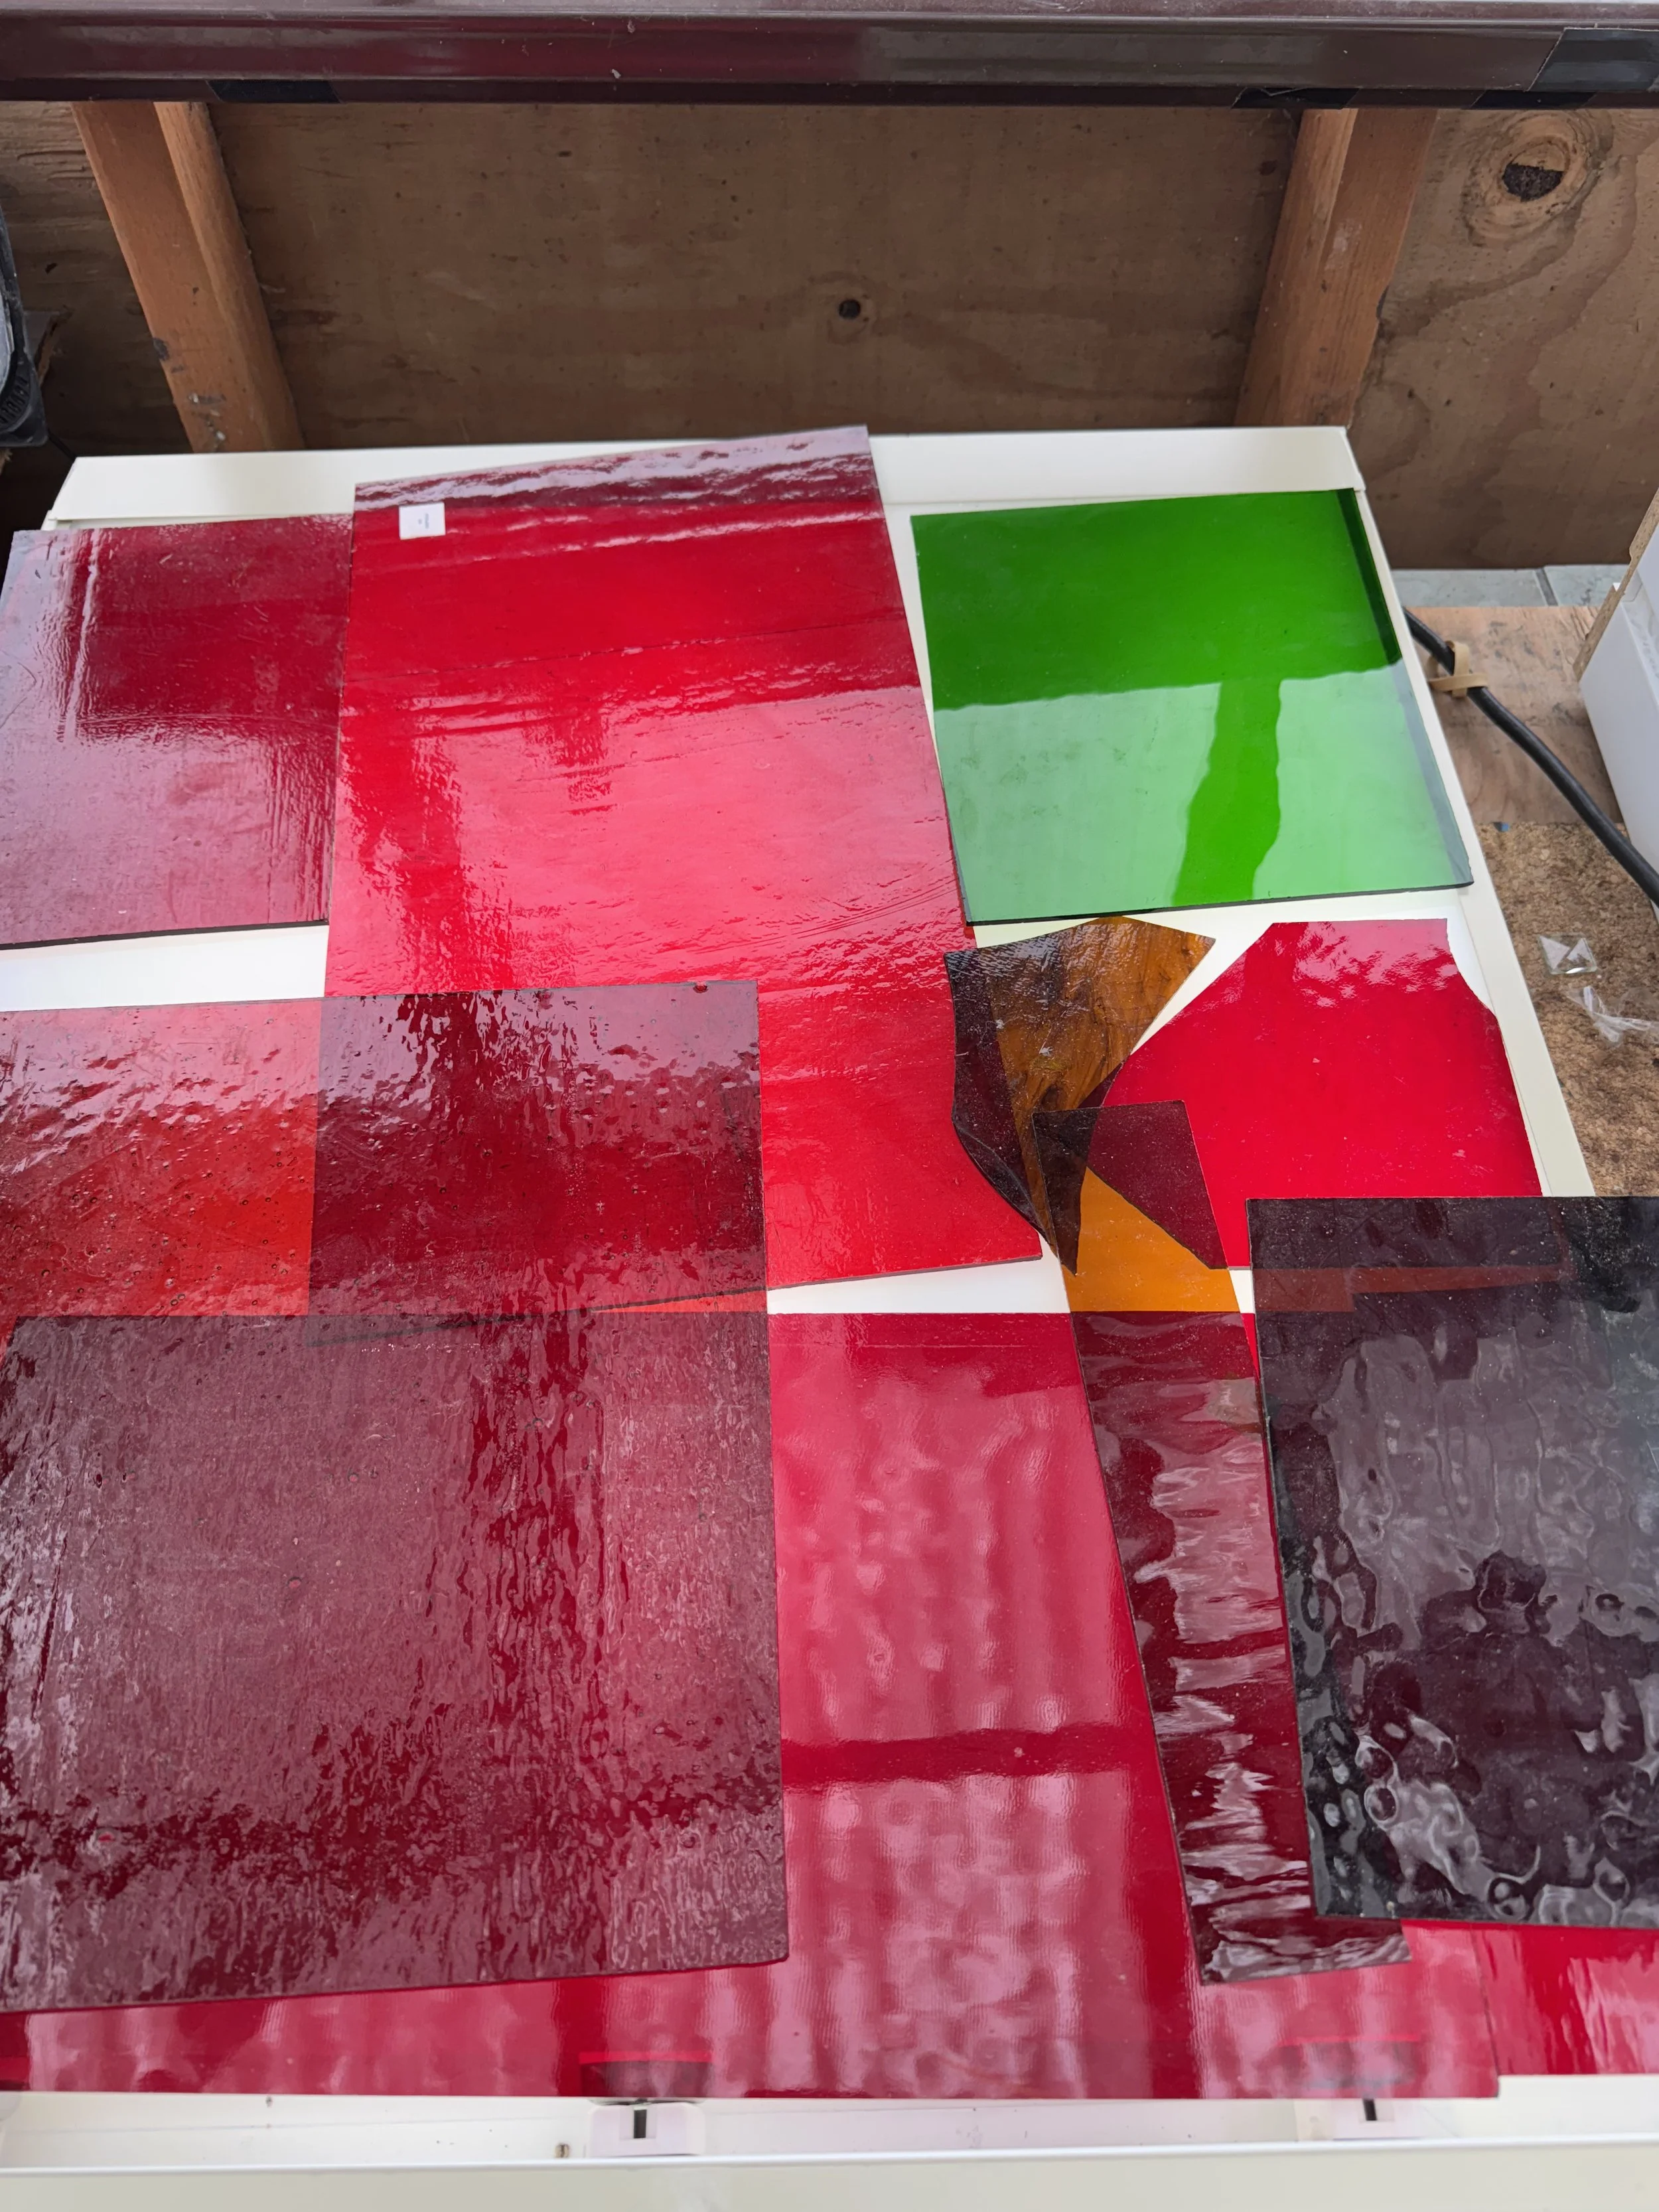
Choosing the Glass
Glass is available in a variety of colors and textures. Similar to buying paper, glass is sold in sheets of different sizes. The price of the glass is influenced by its color; for example, colors like red and pink are the most expensive because of the materials required to produce them. Notably, pink glass is made from gold!
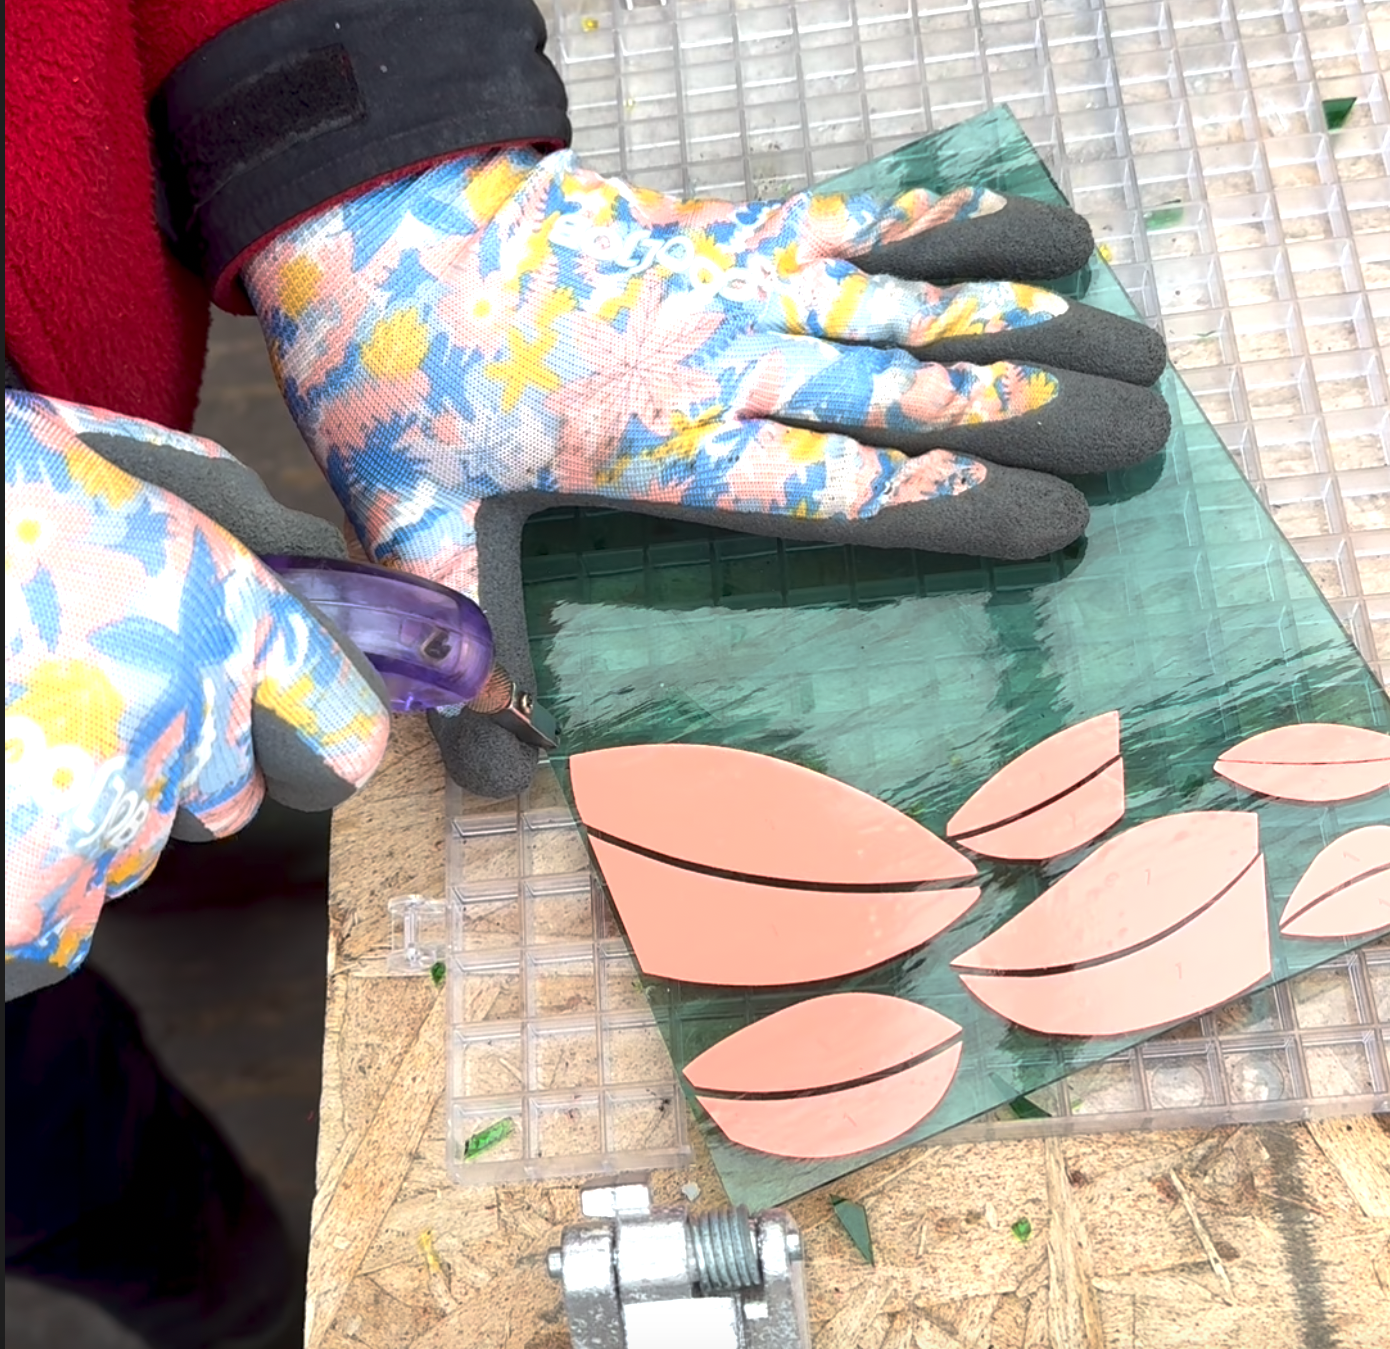
Cutting out the pattern
Tracing the pattern is done using light tables, markers, and vinyl stickers applied to the glass. Glass tools are then used to break the glass along the traced lines. This process requires patience and extensive practice.
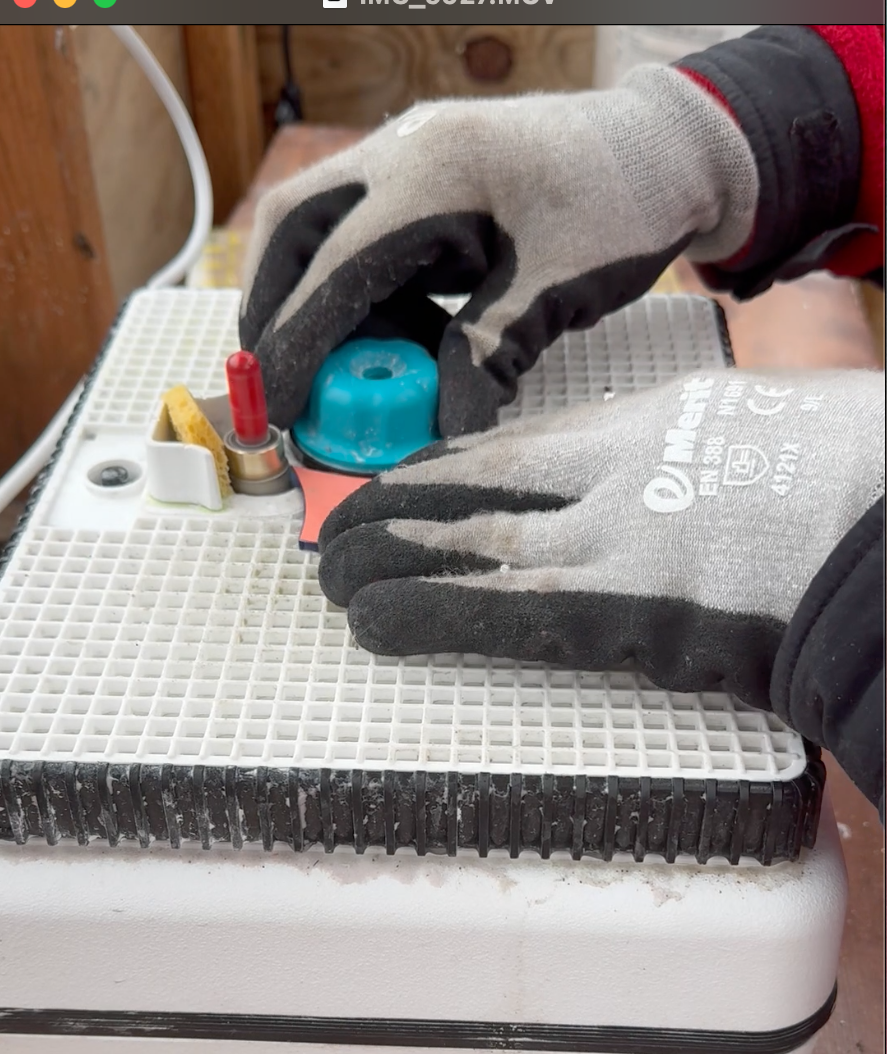
Grinding
The next step is to use a diamond bit grinder to refine the fit of the pieces. Once the fit is perfect, the pieces can be washed and dried.
Foiling the Edges
In the Copper Foil or Tiffany method, each piece of glass is carefully wrapped in copper foil. The copper foil comes in a roll with a sticky adhesive on the back. The edges of the glass are meticulously smoothed and trimmed to ensure a perfect fit.
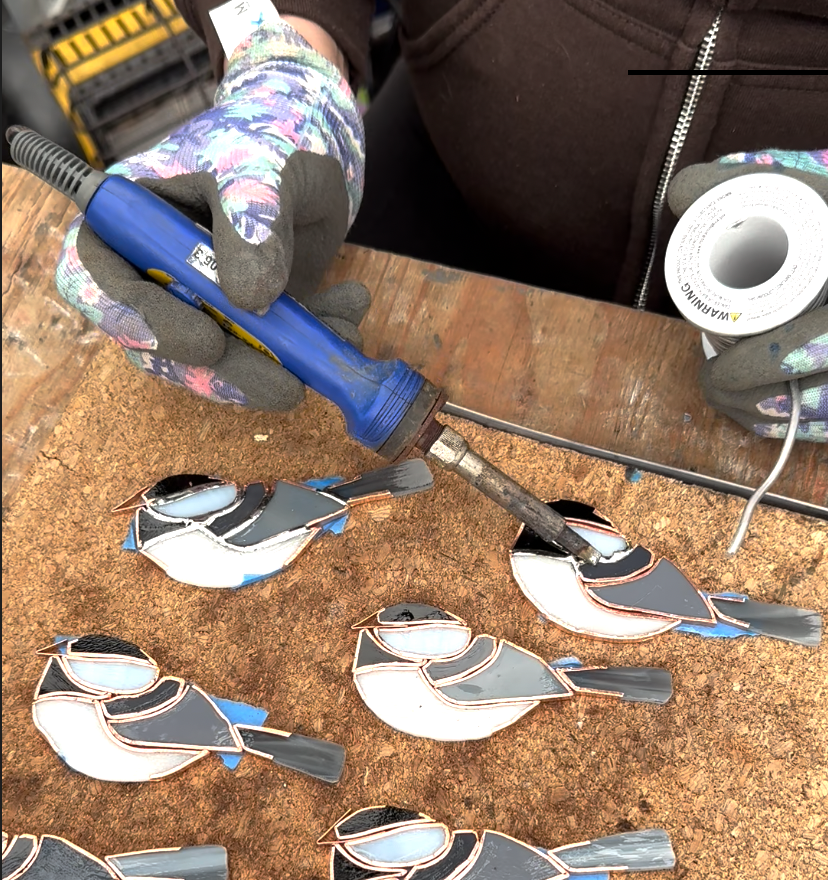
Soldering
Using flux and 60/40 (tin/lead) solder, the seams are carefully soldered together, and care is taken to smooth the lines. Next, hooks and a lead border are added to the piece.
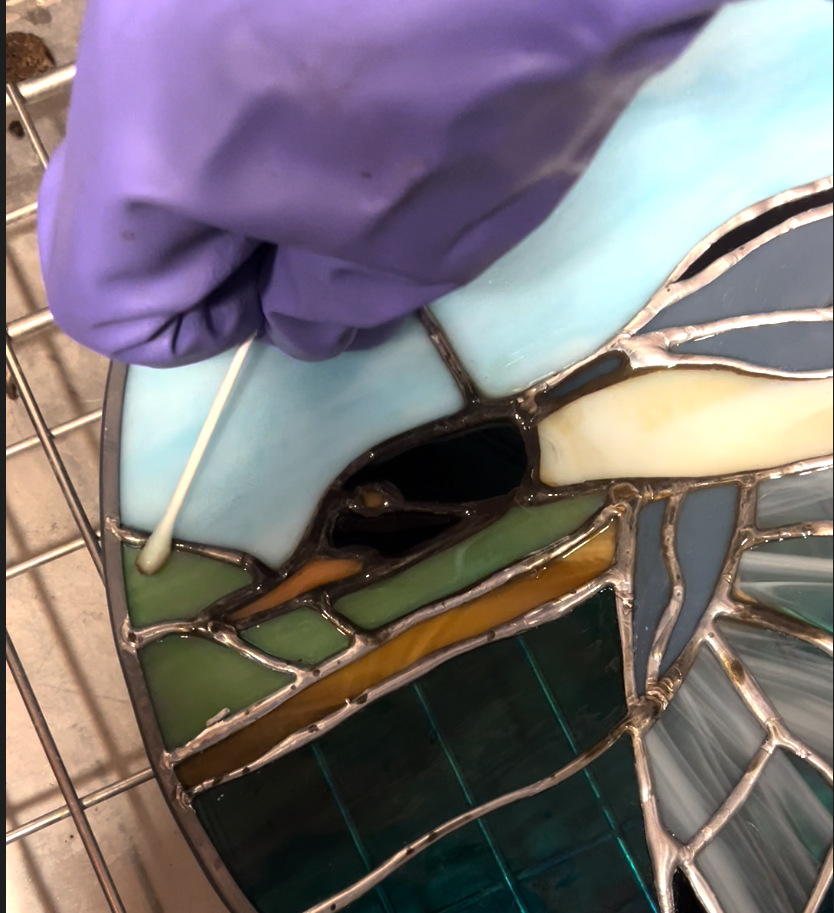
Clean and Patina
After soldering is completed, each piece is carefully cleaned and dried. If left untreated, the solder would gradually tarnish and develop a black patina over time. To speed up this process, a chemical is applied to the solder to intentionally turn the silver black. This enhancement allows the glass to truly glow in the light.
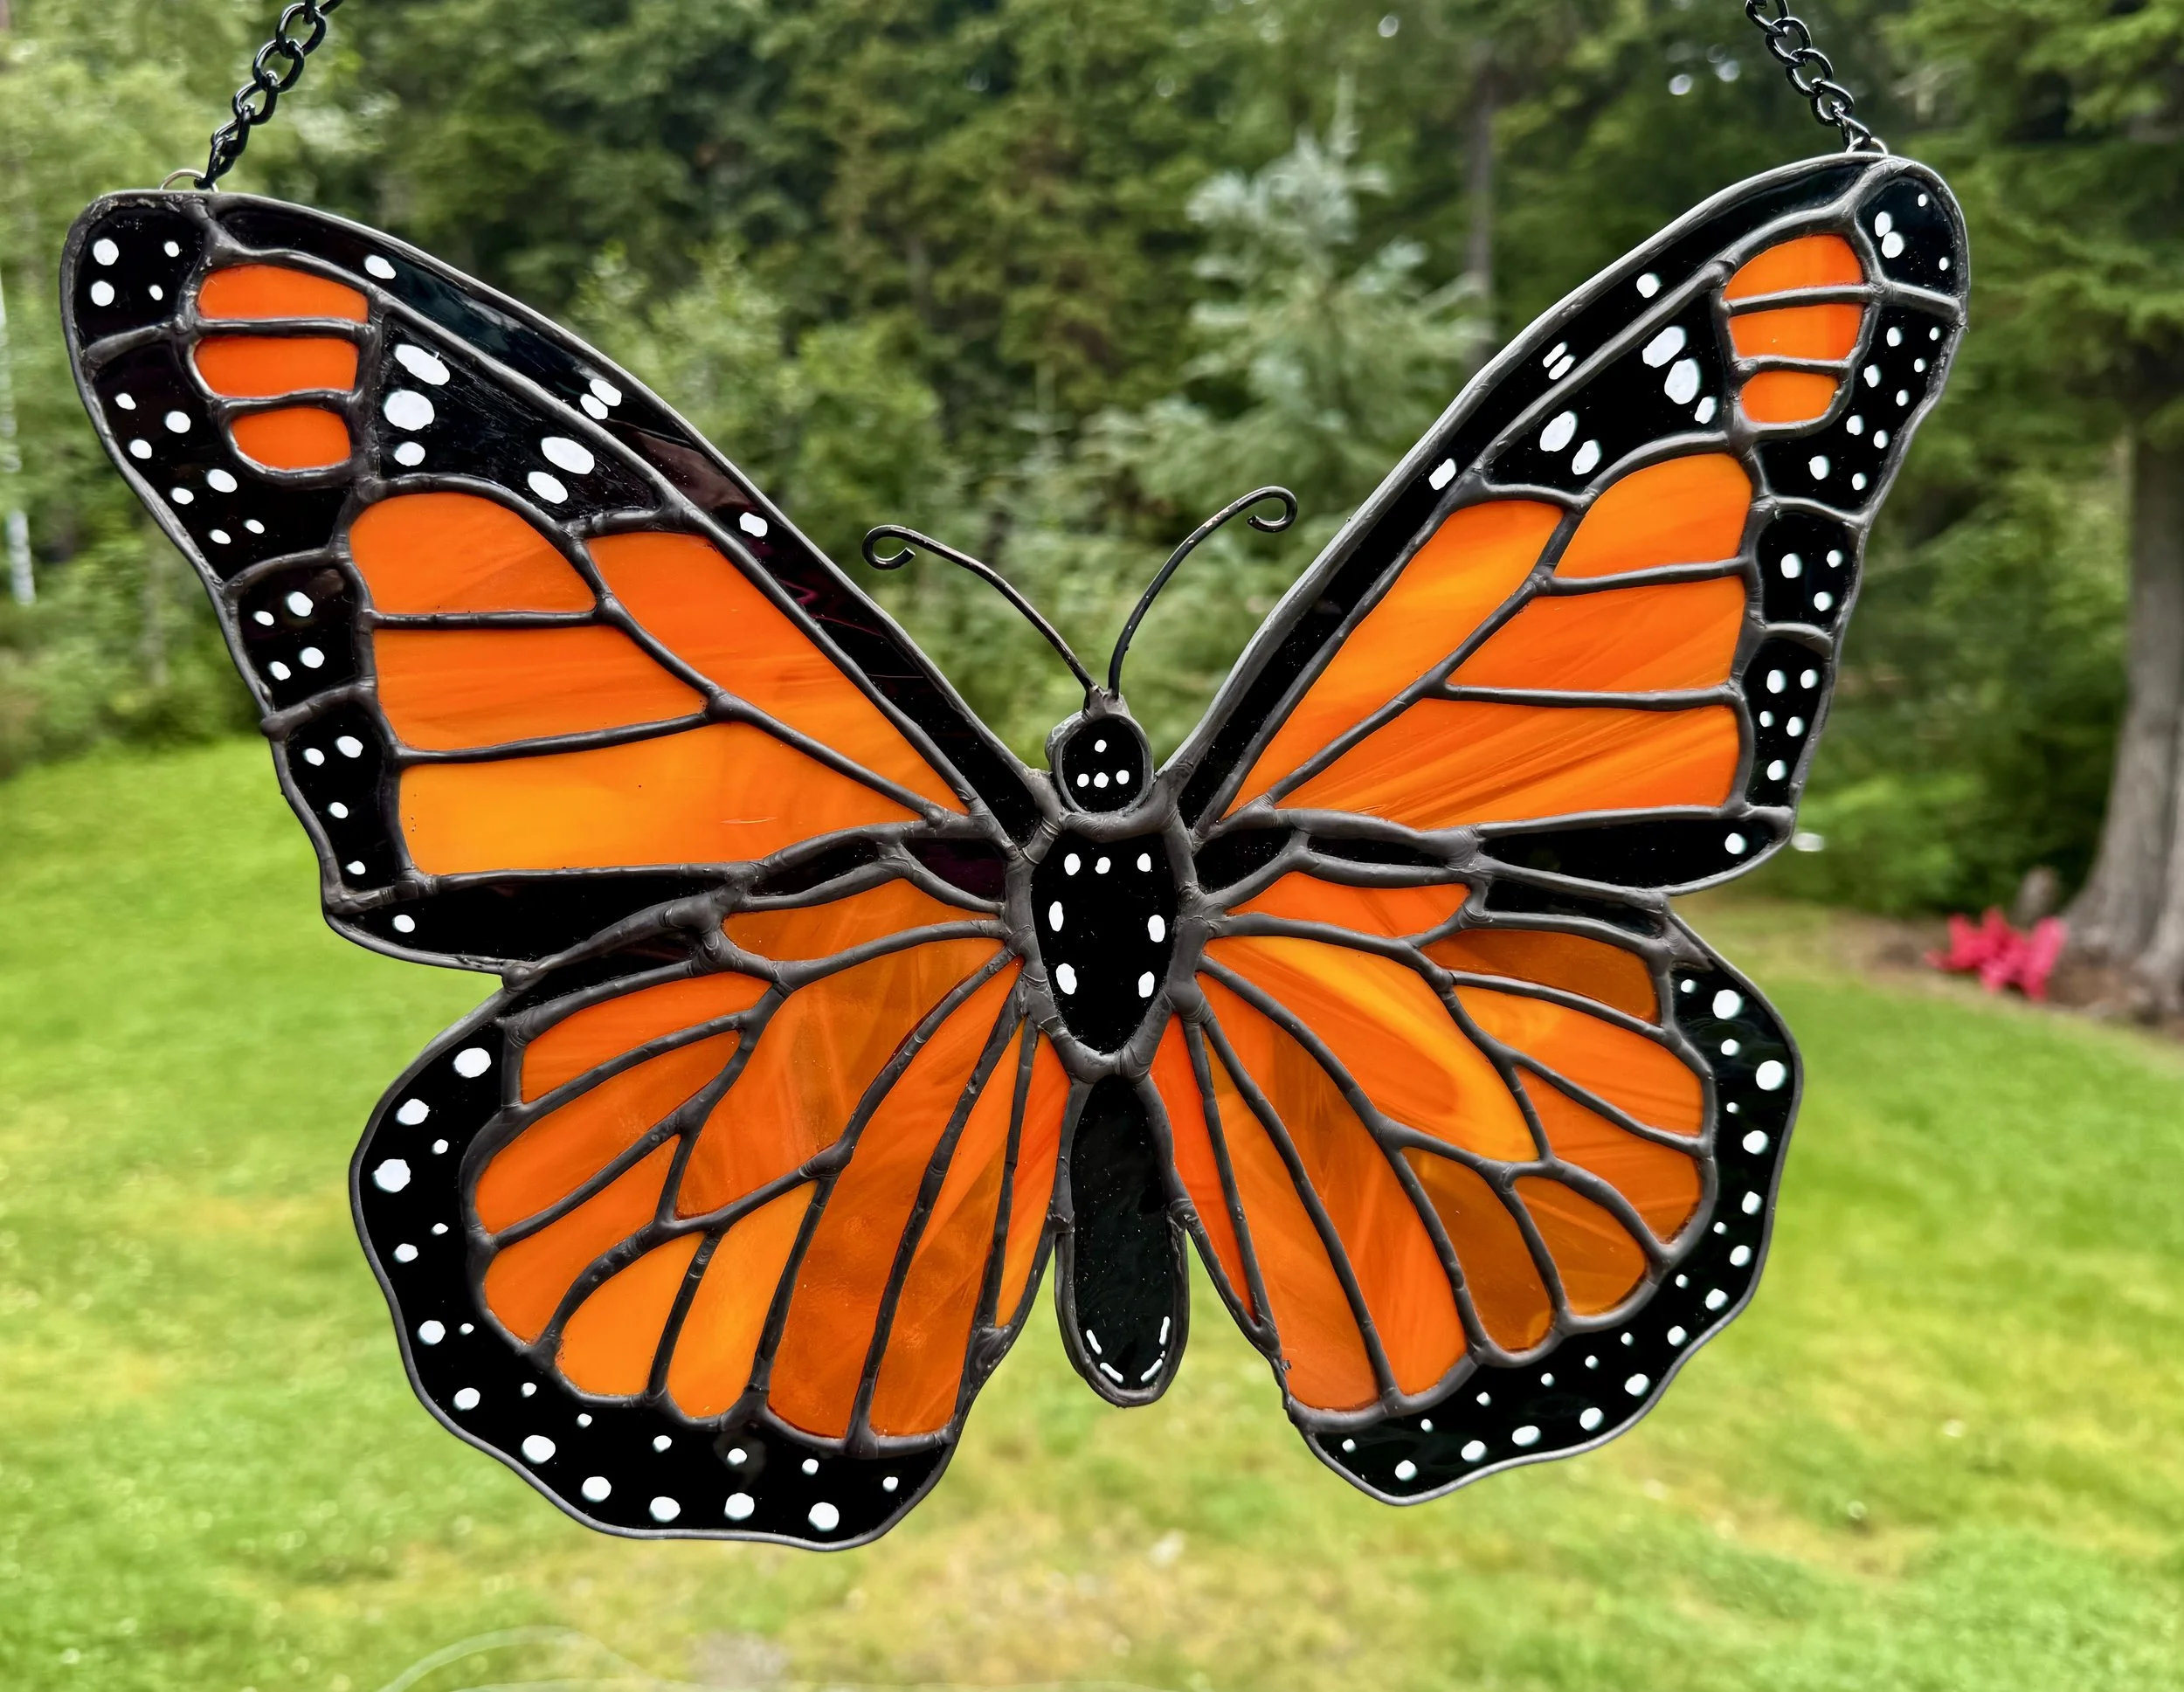
Polish
Only after the patina has been cleaned and dried can the piece be polished. Polishing adds a natural shine to the finished piece and protects the soldering lines.
Want to learn more?
Follow us on Instagram for exclusive sneak peeks into the studio.
Contact us
Interested in working together on a custom piece?
Fill out some info and we will be in touch shortly.
We can’t wait to hear from you!